
How to Boost Your Home’s Value Before Selling
Learn how to boost your home’s value before selling with smart upgrades, from kitchens and bathrooms to energy efficiency, curb appeal, staging, and repairs. Discover how small improvements can attract more buyers, speed up the sale, and lead to higher offers.
EXAMPLES
9/22/20256 min read
If you’re thinking about selling, there’s a powerful window between “I’ve decided to list” and “the photographer is here” where smart, targeted improvements can meaningfully lift your sale price—and often shorten your time on market. Buyers make decisions with both their heads and their hearts. They’re assessing square footage and comps, yes, but they’re also reacting to how a home feels: bright or dim, fresh or tired, move-in ready or project-heavy. The good news? You don’t need a full remodel to move the needle. A handful of focused upgrades—paired with a clean, staged presentation—can transform perceived value and spark stronger offers.
Below is a practical, seller-friendly roadmap to help you prioritize what matters most, why it works on buyers, and how to execute efficiently.
The Psychology Of Perceived Value
Homebuyers don’t just buy houses; they buy futures. A space that looks well-kept and move-in ready tells a subtle story: this home has been cared for, and my life here will be easier. On the flip side, scuffed walls, dated fixtures, or small repair issues create “mental deductions.” Buyers start tallying future costs (“We’ll need to paint, replace that light, fix that leak…”) and often translate those lists into lower offers.
Two quick truths guide the rest of this article:
First impressions compound. From curb to entry to living room, early cues color how buyers interpret everything else.
Friction kills momentum. Every visible project—no matter how small—can slow a buyer’s excitement. Remove friction, and your home feels instantly more valuable.
Kitchen Upgrades That Punch Above Their Weight
Kitchens sell homes because buyers imagine their daily routine there. You don’t need to gut the space. The goal is to create a clean, cohesive, “today” look.
Cabinet refresh: If cabinets are sturdy but dated, a professional paint job in a modern neutral (soft white, warm gray, or light greige) can be transformative. Swap in streamlined hardware—think simple brushed nickel or matte black pulls—for an instant style upgrade.
Counter & backsplash touch-ups: A fresh quartz countertop can be worth it in many markets, but if that’s not in budget, a tidy, neutral backsplash and re-caulked counters sharpen the whole scene.
Lighting & faucet: Under-cabinet lighting eliminates shadows and makes counters gleam in photos. A high-arc pull-down faucet adds an unexpectedly “new” feel.
Appliance strategy: If your appliances don’t match, consider replacing the outlier with a mid-range model in the same finish as the rest. Consistency reads as quality.
Anecdote: A seller with a 1990s oak kitchen spent ~$1,200 on cabinet paint, $180 on hardware, $250 on lighting, and $300 on a sleek faucet. No walls moved, no layouts changed—yet showings doubled, and a second weekend offer beat list price.
Bathrooms: Small Changes, Big Signals
Bathrooms are where buyers subconsciously “grade” maintenance. You’re aiming for bright, spa-clean, and simple.
Grout and caulk: Refreshing grout and caulk always pays off. Crisp lines = cared-for home.
Vanity & mirror: Swapping a dated vanity for a modern, ready-to-assemble unit and hanging a clean, framed mirror modernizes the room in an afternoon.
Lighting & fixtures: Warm white bulbs and updated fixtures (showerhead, towel bars, faucets) elevate the space without demolition.
Glass over curtains: If you can, a clear glass shower screen opens up small rooms and photographs beautifully.
Anecdote: One client replaced a worn vanity and mirror, re-grouted, and upgraded fixtures for under $900. Feedback at showings flipped from “small and dated” to “compact but really nice,” which is exactly the perception shift you want.
Energy Efficiency As A Value Multiplier
Buyers love homes that feel comfortable and cost less to run. Energy-related upgrades work on rational and emotional levels.
LEDs everywhere: Uniform, energy-efficient bulbs brighten rooms and make colors read accurately in photos.
Smart thermostat: Affordable and impressive. It signals a “well-managed” home and reduces buyer anxiety about future bills.
Sealing & servicing: Weather-strip doors, replace tired door sweeps, and service the HVAC. A recently serviced system with a fresh filter suggests reliability.
Insulation & windows: If you’re in a climate where insulation is a known issue, topping up attic insulation can be more persuasive (and less costly) than replacing windows prior to sale.
Don’t overlook marketing: a short, neat one-pager listing monthly utility costs and recent efficiency improvements gives buyers confidence and differentiates your property from similar comps.
Curb Appeal And The Eight-Second Test
Most buyers decide how they feel about a house within the first moments at the curb. You’re not “landscaping”—you’re staging the exterior.
Front door & hardware: A freshly painted door with updated hardware and a modern house number makes the whole facade feel newer.
Pathway & pressure wash: Clean the driveway, walkway, and stoop. Dirt hides light and color; a quick pressure wash reveals both.
Greenery: Trim hedges below window level to let more light in. Add two healthy planters framing the entrance. Mulch beds for a finished look.
Lighting: A contemporary sconce and a consistent set of warm-white bulbs make evening showings (and dusk photos) glow.
Anecdote: A seller skipped an expensive exterior repaint and instead invested ~$450 in door paint, numbers, lighting, and planters. The listing photos popped, foot traffic spiked, and the home went under contract in nine days after a price-reduction stalemate the previous year.
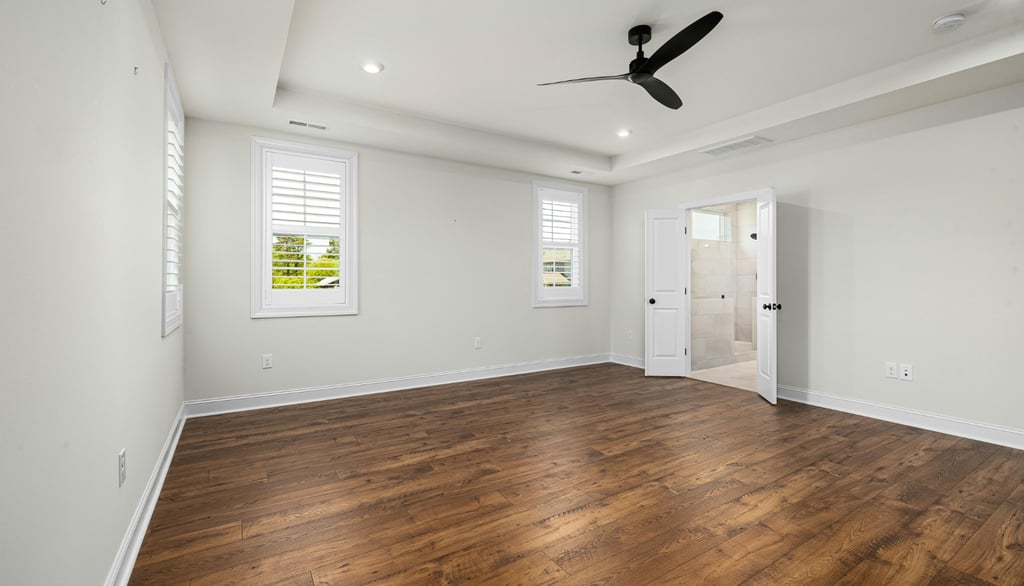
Declutter, Depersonalize, And Stage The Story
Staging is not decorating—it’s merchandising. You’re highlighting space, light, and function so buyers can imagine their lives unfolding here.
Edit relentlessly: Remove a third to half of your belongings. Clear counters, thin out bookcases, and store off-season items. Closets should be two-thirds full at most; stuffed closets whisper “not enough storage.”
Neutral backdrop: If walls are scuffed or colorful, a fresh coat of neutral paint unifies the home and maximizes light.
Furniture placement: Float pieces to create conversational groupings and clear traffic lanes. Aim for one obvious focal point per room (fireplace, window, art).
Soft goods: New white towels, a crisp shower curtain, neutral bedding, and a few textured throw pillows photograph well and feel hotel-fresh.
Anecdote: One couple spent a weekend decluttering, rented a small storage unit for $120, and bought $180 of staging extras (pillows, towels, two lamps). Their agent said buyers lingered longer in showings and described the home as “bigger than expected,” even though nothing structural changed.
The Repair List You Should Not Ignore
Unfixed “little things” add up to big doubts. Handle the predictable objections before they surface.
Leaks & drips: A dripping faucet or stained ceiling is a red flag. Fix the cause and make cosmetic repairs.
Doors & drawers: Adjust any that stick or squeak. It’s a ten-minute job that communicates care.
Outlets & plates: Replace cracked switch plates and ensure GFCIs function properly in kitchens and baths.
Tile & trim: Re-secure loose tiles and re-attach lifted baseboards.
Lighting & fans: Replace flickering bulbs and noisy fans; buyers will notice.
Consider a pre-listing checkup with a handyman (or even a pre-inspection in some markets). A small, proactive fix list now often prevents a long renegotiation later.
Photo-Ready Prep: The Day Before You List
Listings live or die online first. Prepare your home for the camera:
Wash windows and open blinds to maximize natural light.
Hide cords, pet bowls, and countertop appliances.
Use consistent bulb temperatures throughout (warm white is flattering).
Add simple props: a bowl of lemons in the kitchen, a vase of fresh greenery in the dining room, folded white towels in bathrooms.
Schedule photography when the home gets the best light; dusk exteriors with warm lighting can be irresistible.
Budgeting And Timeline: A Simple 3-Week Plan
If you’re working on a fast timeline, here’s a practical sequence:
Week 1 – Plan And Declutter: Walk the property with a notepad. Capture every repair, paint need, and upgrade idea. Book a handyman and painter. Begin decluttering and arrange off-site storage if necessary.
Week 2 – Paint, Repair, Refresh: Complete painting, cabinet/vanity updates, lighting swaps, and minor electrical/plumbing fixes. Refresh caulk and grout. Order any small staging items.
Week 3 – Exterior And Stage: Knock out curb appeal tasks, deep clean, stage rooms, and prepare for photography. Confirm all bulbs match and everything opens/closes smoothly.
If your budget is tight, prioritize paint, lighting, and repairs first. These deliver the highest “clean, bright, move-in ready” signal per dollar.
Pricing, Comps, And Where Agents Add Value
Improvements shine brightest when paired with the right strategy. A skilled listing agent can help you:
Identify which upgrades matter in your micro-market (e.g., quartz vs. painted laminate, shower glass vs. curtain).
Position your home against nearby comps and price bands so you capture the broadest pool of qualified buyers.
Time your launch for peak visibility (think: a polished listing going live mid-week to build weekend momentum).
Putting It All Together: A Real-World Return
Let’s combine the pieces. Imagine you spend roughly:
$1,500 on interior paint and touch-ups
$800 on cabinet paint and hardware
$400 on new lighting (kitchen pendants, entry, two bathrooms)
$300 on faucets and showerhead upgrades
$250 on curb appeal (door paint, planters, house numbers)
$300 on handyman fixes (caulk, grout, doors, outlets)
$200 on staging extras (bedding, towels, lamps)
Total: ~$3,750. In many markets, that level of refresh can help your home stand out, drive more showings, and support stronger offers—often recapturing your spend and then some. The biggest ROI comes not just from the individual upgrades, but from the unified story they tell: fresh, well-maintained, and easy to move into.
A Final Word Of Encouragement
Preparing your home to sell isn’t about perfection; it’s about presentation and confidence. The goal is to reduce buyer friction, amplify first impressions, and signal that your home has been loved and looked after. Fresh paint, modern lighting, tidy landscaping, tightened screws, and clean lines are small moves that create a big shift—from “maybe” to “this is the one.”
Treat these steps as investments, not extras. You’re not just improving a house; you’re curating a feeling that invites buyers to picture their next chapter there. Do that well, and you’ll not only attract more attention—you’ll earn the kind of offers that make all the effort worthwhile.